
The goal with a self watering container is to create a reservoir in the bottom of the container so that you don't have to water as frequently. In the hot summer I have to water the vegetables every day so this could be a great time saver. I also like that I can put them wherever I want. Right now I'm limited to the raised bed and some things take up a lot more space than they do dirt so it seems a little inefficient. I figured I could put the squash in these and if they start getting really big I can just move the containers apart. I can't do that in the raised bed.
Josh used pond baskets to create a wick from the reservoir but I couldn't find those so I used these containers from the fridge. I probably should have cleaned them out a long time ago anyways.

I also got some PVC pipe and a couple more bins.

It was only after I got home from the store that I read Josh's note that he no longer uses pvc. I guess that makes sense but I was unwilling to let anything interrupt my momentum after it took me a year to get started. Luckily he recommended some substitutions, one of which was copper pipe.
It just so happens that I had a pile of copper pipe. Not because I did any un-permitted plumbing work or anything. : /

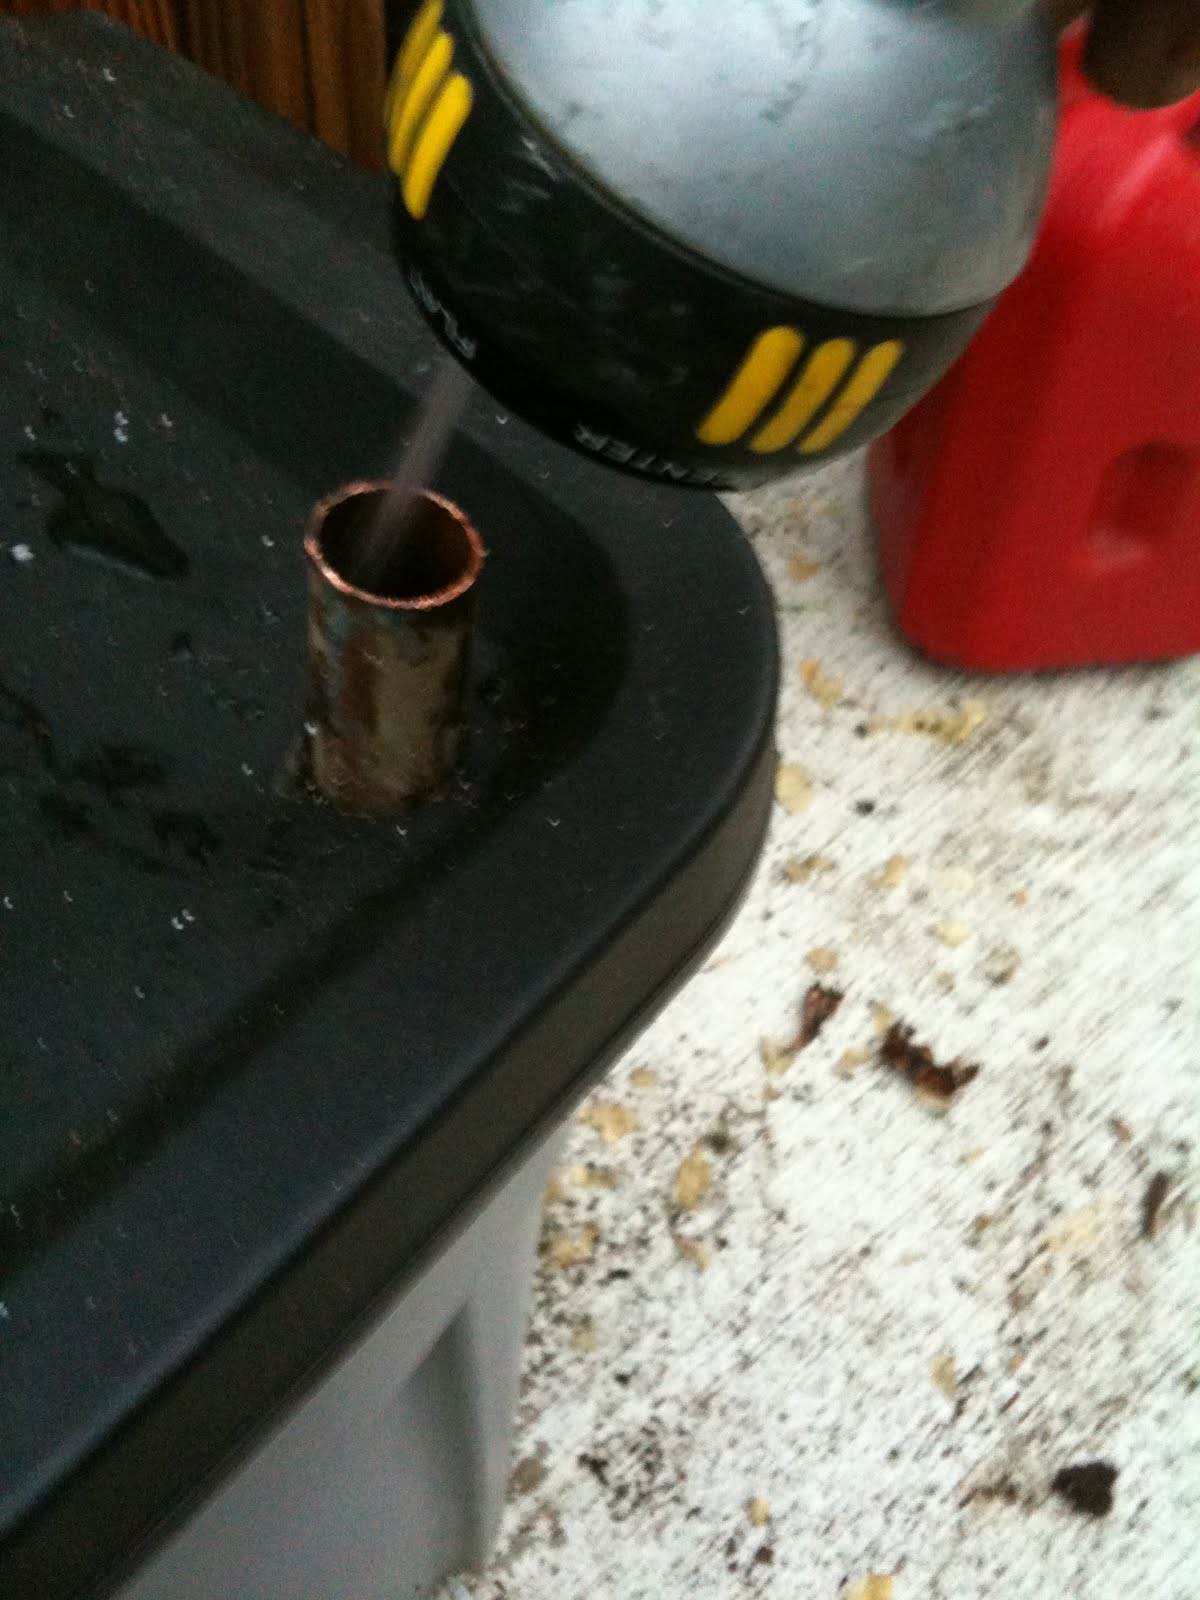
I found three pieces that where long enough. I just needed to trim some bends off of one.
So I got to cutting and drilling and nipping. The reservoir is created by cannibalizing one of the bins. You cut off the bottom few inches and that gets flipped over and wedged into the bottom of another.

The yogurt container are filled with dirt and sit in the reservoir to draw water up to the plants above.

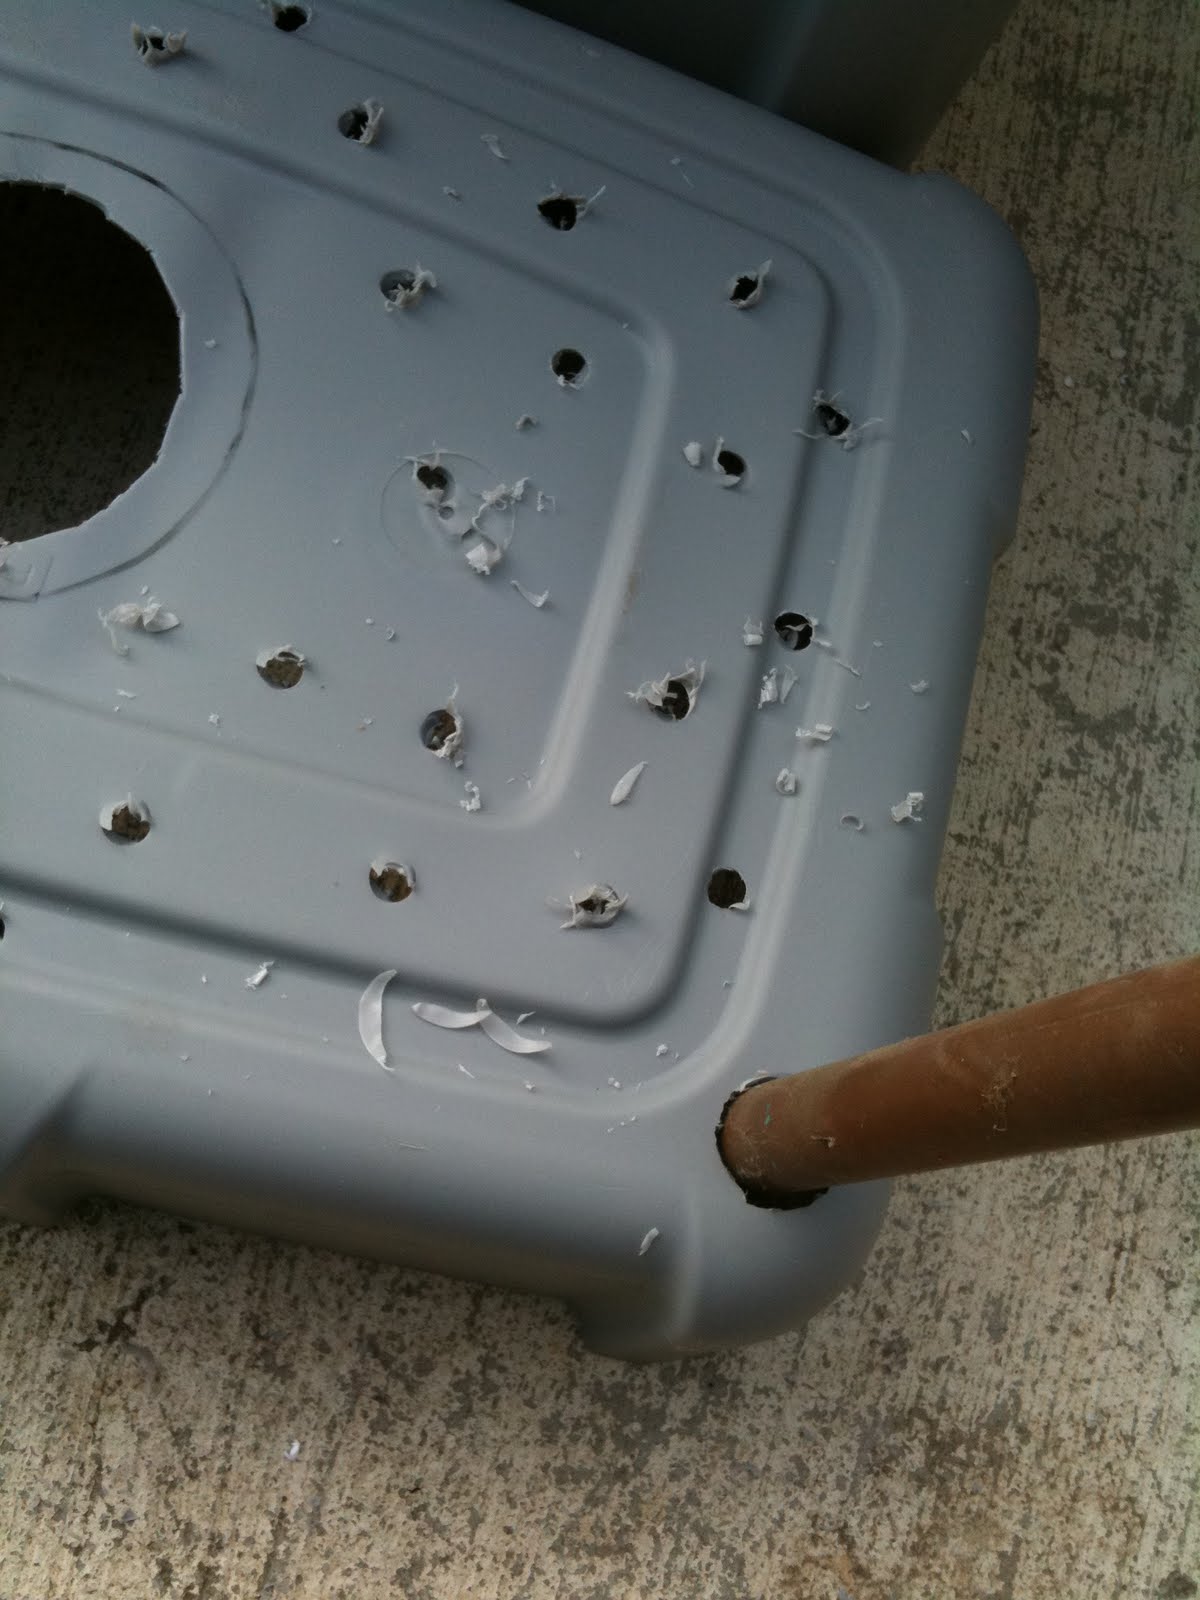
The pipe goes down into the reservoir so you can fill it from the top. I notched the bottom so the water could flow out easily.

To fill the containers I used a mixture of litter from the chicken coop, a commercial water control potting mix and perlite.

Here you can see the reservoir as it's covered with dirt.

I cut holes in the lid for the plants and added dirt until it came right to the top. I'm hoping that this will hold in more moisture.

I have a funnel but even with the smaller diameter copper pipe it's easy to fill.
There's a small drain hole at the bottom to keep it from getting too soggy.

I moved my precious baby squash into the containers. I know I'm supposed to weed out the weak seedling and leave the strong one to grow but it's hard for me to do. I convinced myself that I should wait to see how they adjust to their new circumstance and then make the decision.

I realized that most of my squash is winter squash so I pick up a green zucchini at the store. I also planted twice as many of the Golden Glory which is a yellow zucchini. Some of the seedlings already have little baby flowers on them. I think the first flowers are male so it will still take awhile before they start to grow fruit.

One of the reasons I'm trying these containers is that I'd like to have a little more diversity in my growing space. With only one bed I tend to have a Summer season and a Winter season where I let everything grow until it's done and ready to be pulled out. This doesn't feel very efficient and it leaves me with many months where things are just growing in and not producing. Ideally I'd like to have more overlap so that there are always mature vegetables in the garden.
I'll have to plan much better and start my seedlings earlier. I was reading another blog where someone was already picking their first harvest of tomatoes. I just planted mine, and although I had wanted to put them in their own SFC I ended up putting them in the raised bed where they can fight for space with the giant Swiss Chard.
I'd like to make better use of this space. It makes me happy to see all of my potted plants but I think it would make me just as happy to see a bunch of vegetables growing. I could move my patio furniture over to the shadier part of the yard and build a couple more beds here. I'd love to cut out the concrete and have more dirt to work with.

Everything takes time and money though. Speaking of which, after adding up the cost for the bins, the perlite, and the potting mix, the SWCs ended up costing me $24 each. That kind of sounds like a lot to me. The commercial ones sell for about $50 dollars. I guess the final verdict won't be in until I see how well things grow in them. I'm a little concerned about how these will hold up in the sun. When I lived in Vegas, anything vinyl or plastic that sat in the sun got brittle and cracked after awhile. If these things cracked I would be pissed. Maybe I should make little shade cozies for them until the squash leaves shade them.
It would be great if I could have ten of these that could always be in rotation. That adds up fast though and would take a lot of dirt and time. Just like they cost more than I would have expected they also took me longer to make than I predicted. Between buying supplies, hauling and mixing dirt, cutting and assembling, and planting the seedlings it probably took me 6 hours to get these done. I would have had to do some of that work even if I just bought them but $50 is sounding more and more reasonable.
Erik and Kelly at Root Simple have a version of these made out of 5 gallon buckets. I guess if I could get 20 buckets for free it might be worth it. They would also be a nice size for growing tomatoes, peppers, and other bushy things. Maybe I'll start making the rounds of donut shops to see if they have any extra strawberry filling buckets.
No comments:
Post a Comment